Set Up an MFT Virtual Printer
The Manager File Transfer service allows you to add the virtual printer XES Cloud MFT Printer to the list of available system printers in the operating system Windows to transfer data in a PDF format to your partners.
To set up a virtual printer:
- Open the MFT service web portal in your browser.
- Go to the section Connections (
 on the toolbar), and then on the tab My Connection, click Setup Agent.
- In the dialog Setup Agent Connection, in Step 1, click Download Agent, and then from the drop-down list, select a printer for the operating system Windows.
- In the dialog Save As, navigate to the location where you want to save the installation file, and then click Save.
- Navigate to the location where you have saved the installation file, and then run the installer to install the printer.
- Follow the instructions from the installer.
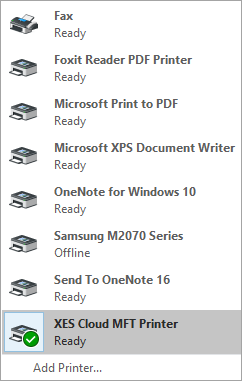
After you have set up the printer, an icon of the printer is added to the list of available system printers in the operating system Windows.
To use the printer:
- Select a file that you want to send to you partner.
- Click Ctrl+P or in the file navigation menu, click Print, and then in the list of available system printers, select XES Cloud MFT Printer. The file is converted to the PDF format and is ready to be sent.
- Click Print. The dialog XES Cloud MFT Virtual Printer appears.
In the dialog XES Cloud MFT Virtual Printer, in Action, by default, Simple File Transfer is selected automatically.
- In Partner, select a partner to whom you want to send a document.
- In Inbox, select an inbox that the partner shared with you.
In File Name, the name of the file in the PDF format is displayed.
- Click Send. The file is sent to your partner.